| .gitignore | ||
| image.ppm | ||
| LICENSE | ||
| main.go | ||
| README.md | ||
RaytracerGO
A raytracer and renderer writen in Go (Golang) following the book Raytracing in one weekend
Motivation
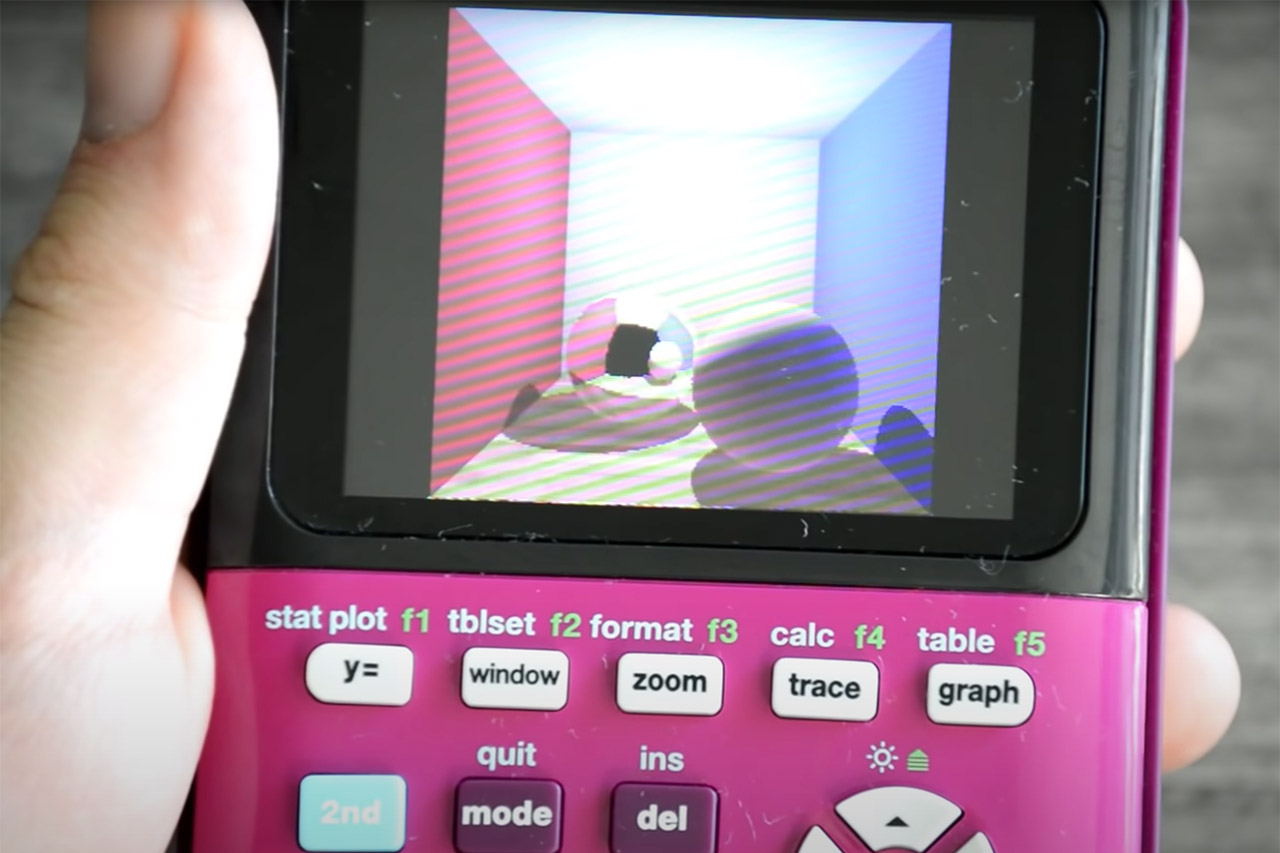
I've been meaning to tinker with graphics for quite a while and was motivated by a video programming a raytracing algorithm on a TI-84. Back in my school days I used to love to tinker with the TI-84 and also did some very elementary programming on it myself.
Video that started it all: Raytracing on a Graphing Calculator (again)
Why Go?
The story starts with Zig. A few colleagues of mine and I tried to work on a Guake-like browser using Zig. We chose Zig because it's C-like, modern and because their mascot is a lizard, of course. But I don't like Zig all that much, and right now Go has caught my attention.
I like the language a lot, it's still very C-like, doesn't have classes :), is open-source and resembles Python a lot, while still being fast and having crazy fast compiling speeds (which is something I've started to appreciate since dabbling with Linux From Scratch). The only draw back of Go is that it is a little bit slower than C++, but I just want to experience what the Python-version of C is like :)

Taglibro
Chapter 1: The PPM-image format
Yay this is the first image I've ever generated without using any external imported library ^^
Chapter 2: Vector operations: Ditching OOP for GO
Implemented the vec3 Class and colour utility functions without classes. Struktoj estas sufiĉa.
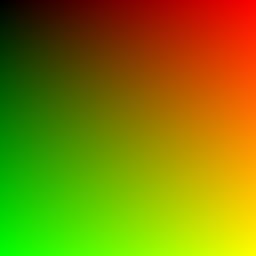
Chapter 3: Implementing the camera, rays and a background
To understand computer graphics better I will try to describe some important definitions with my own words:
- Rays: A ray is a 3D-vector with an origin pointing with some length in one direction (P(x)=O+x*b, where O is the origin and b is a vector pointing in one direction)
- Viewport: Is essentially a window (typically the user window) through which we see the 3D environment. Adjusting the viewport allows you to zoom in, pan around, or focus on specific areas of your scene.
- Camera: Is essentially a mathematical function (a virtual eye of sorts) that captures rays that originate from its position and pass through the viewport and generates an image that the user can see.
By the end of this chapter I generated the following background:

Chapter 4: Creating a sphere
In this chapter I created a simple sphere and detect its surface by solving quadratic equations, which represent vectors. The sphere has no shading yet:
